How To Make Class Reunion Name Tags?

If you prefer a video tutorial, scroll all the way down
1. Create an account and upload an Excel file with all your attendees’ info.
If you want to upload old funny pictures (like the ones on your yearbook) there is a crucial part of the process that needs to be done.
You first need to have a column named image_url in your Excel document, with each attendee's image address. Each attendee needs to have their picture uploaded and publicly available anywhere on the internet.
To have your pictures publicly on the web, you can upload them to Imgur by clicking on their new post button.

Once that’s done, do a right-click over the image and select copy image address. It’s very important you copy this link and NOT the URL from the address bar. The link will look something like this: https://i.imgur.com/MOa1sjJH7.jpg

Paste it in the image_url column of your file. Do this for every person.

2. Match the spreadsheet columns with your attendees info.
3. Choose your preferred product.
You may choose PDF badges that you can print yourself at home or on-site. The other option is to have us print and deliver. It all depends on your needs.
4. Start your badge design.

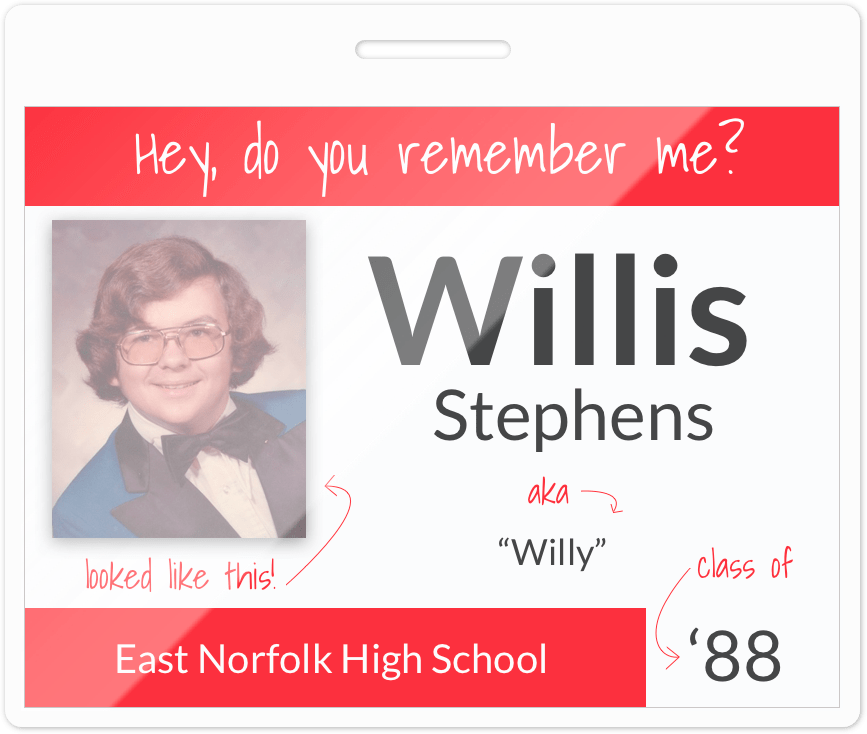
You can choose one of our templates, start from scratch or use this class reunion template we just designed. You can access it in our theme selector, when your setting up your event.

If you decide to go for our class reunion template, click on Attendee picture to insert your classmates photos.

Make sure to include their names, last names, nicknames and class year in the badge design!
5. You can now create PDF badges or we can print them for you.
We want to celebrate with you for all these good years! So email me and I’ll give you a discount: 10 year reunion gets 10% discount, 20 year reunion gets 20% discount, etc. This applies to PDF badges and proof is required.
Happy badge-making-for-class-reunions everyone!
